Intro to the module
The first few lessons
i have decided to compile the first 3 lessons into the "introduction" page.
3 lessons compiled onto one page, yum
During the first lesson, we were introduced to what we would be doing throughout the course,such as
Web design
Different methods of prototyping
3D printing
Honestly, i was pretty excited for the latter 2, but i really hated coding and wasn't very keen on coding a website.
However, as you are now reading my website, you can tell that i have changed my views. After watching a few tutorials i found html coding to be fun
Tool use and fablab saftey
we were taught of the basic tools we would be using, like philip screwdrivers and glue
As for the fablab saftey briefing, it was all the essential bits we have to know, like not to stick our hands into the powersaw.
Obnoxious sarcasm aside,saftey in the fablab is extremely important since there are many many very dangerous tools inside
Attire in FabLab
1.Wear long pants and covered shoes
2.no loose items allowed.Eg.long necklace
3.No long sleeves
4.No loose attire that could get caught in the machinery
5.Long hair must be tied up
6.Prefably no wrist articles, as they are considered prone to slipping out
We were also made to take a FabLab saftey test on the blackboard, it wasnt that bad, mainly common sense questions
At the end of the first day we were made to compile a list of tools we think we might need to use for this module.
My list goes as follows
1.Philips head screw driver
2.Blue tack
3.Zip ties
4.Small files of assorted shapes
5.Marker
6.WD40(Extremely Hard Maybe)
Let me explain my reasoning behind each one of them
1. The philips head screw driver, I dont think i would design anything that uses flat screws or hexagonal screws, since philips screws are the most common, i figured i would stick with that. Also because its good to standardise
2. The Blue tack, it's extremely versatile and can be used in multiple situations, got the wrong dimensions, and your part dosent fit in properly?? Just stick some bluetack on it and it will work itself out. Reason behind this extremely scuffed fix is because im sure this module is focused around prototyping, so its alright to use a tempoary fix to test out other features
3. Zip ties, Less versatile then blue tack, but it is very good at what it does, it adheres different objects to one another very securely.I imagine ill use it as another quick fix for a stubborn part that dosent want to stay attached.
4. Small files of assorted shapes, so lets say, you accidentally didnt add sufficient clearance for a part to insert into another, or your expected and actual tolerence was way off. Both parts cant fit into one another now as one is too big. Another quick fix, the files serve as a way to remove material from a variety of different shapes and corners. the many different shapes accomadate different shapes and surfaces
5.Marker, used to mark(duh) important areas, such as how much to remove with a file, or the exact location a part is supposed to be, or to record infomation on a part such as hole size or proper surface finish. The marker is another versatile tool
6.WD40, This one is a hard maybe, since i dont think we will be working with metals, but wd40 can be used to reduce the friction between moving surfaces, if two moving parts are accidentally pressed too closely together, neither will move very well, wd40 reduces friction between the two parts and allows them both to move semi-properly again, without having to file down a part to reduce its size, or worse, redesign the whole part to add more tolerences to reduce contact between parts.
As for why my list is so elaborate, its because i have a background in doing Dnt in my secondary school, so i have designed products before. This list has all the items that have helped alot thorugh the prototyping phase. Quick fixes help me to test the other functions of a product,even if one or two parts of that same product are flawed in design and arent working and are causing problems for the product as a whole
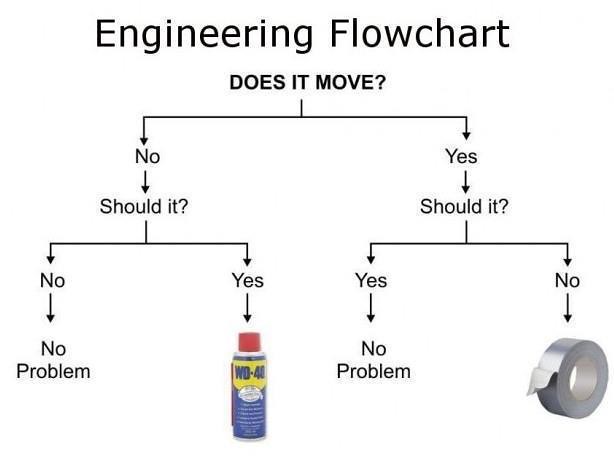
Lets end of this session with a cool image that has summarised my past experiences and validates my claim
